Rails Nested Attributes, Dynamic Forms, and StimulusJS Part 1
2020-08-05
- Rails Nested Attributes, Dynamic Forms, and StimulusJS Part 1
- Rails Nested Attributes, Dynamic Forms, and StimulusJS Part 2
- Rails Nested Attributes, Dynamic Forms, and StimulusJS Appendix
Have you ever wanted to add a form that had an “Add Another” button? Or that didn’t make a server call every time you clicked delete? On top of that, have you dreaded the thought of needing to add React or a LOT of javascript in order to dynamically build up your form fields. Well there is an easier way.
(A lot of this I learned by reading more about Basecamp’s new Hey email service. Check out a great series of posts here.)
Getting Started
This assumes a basic knowledge of rails routes, controllers, models, and views. It also assumes a small familiarity with StimulusJS. If you are not familiar with Stimulus, going through the docs should be enough to follow along with this guide.
If you want some help setting those up, check out the appendix article.
Let’s Build a Form!
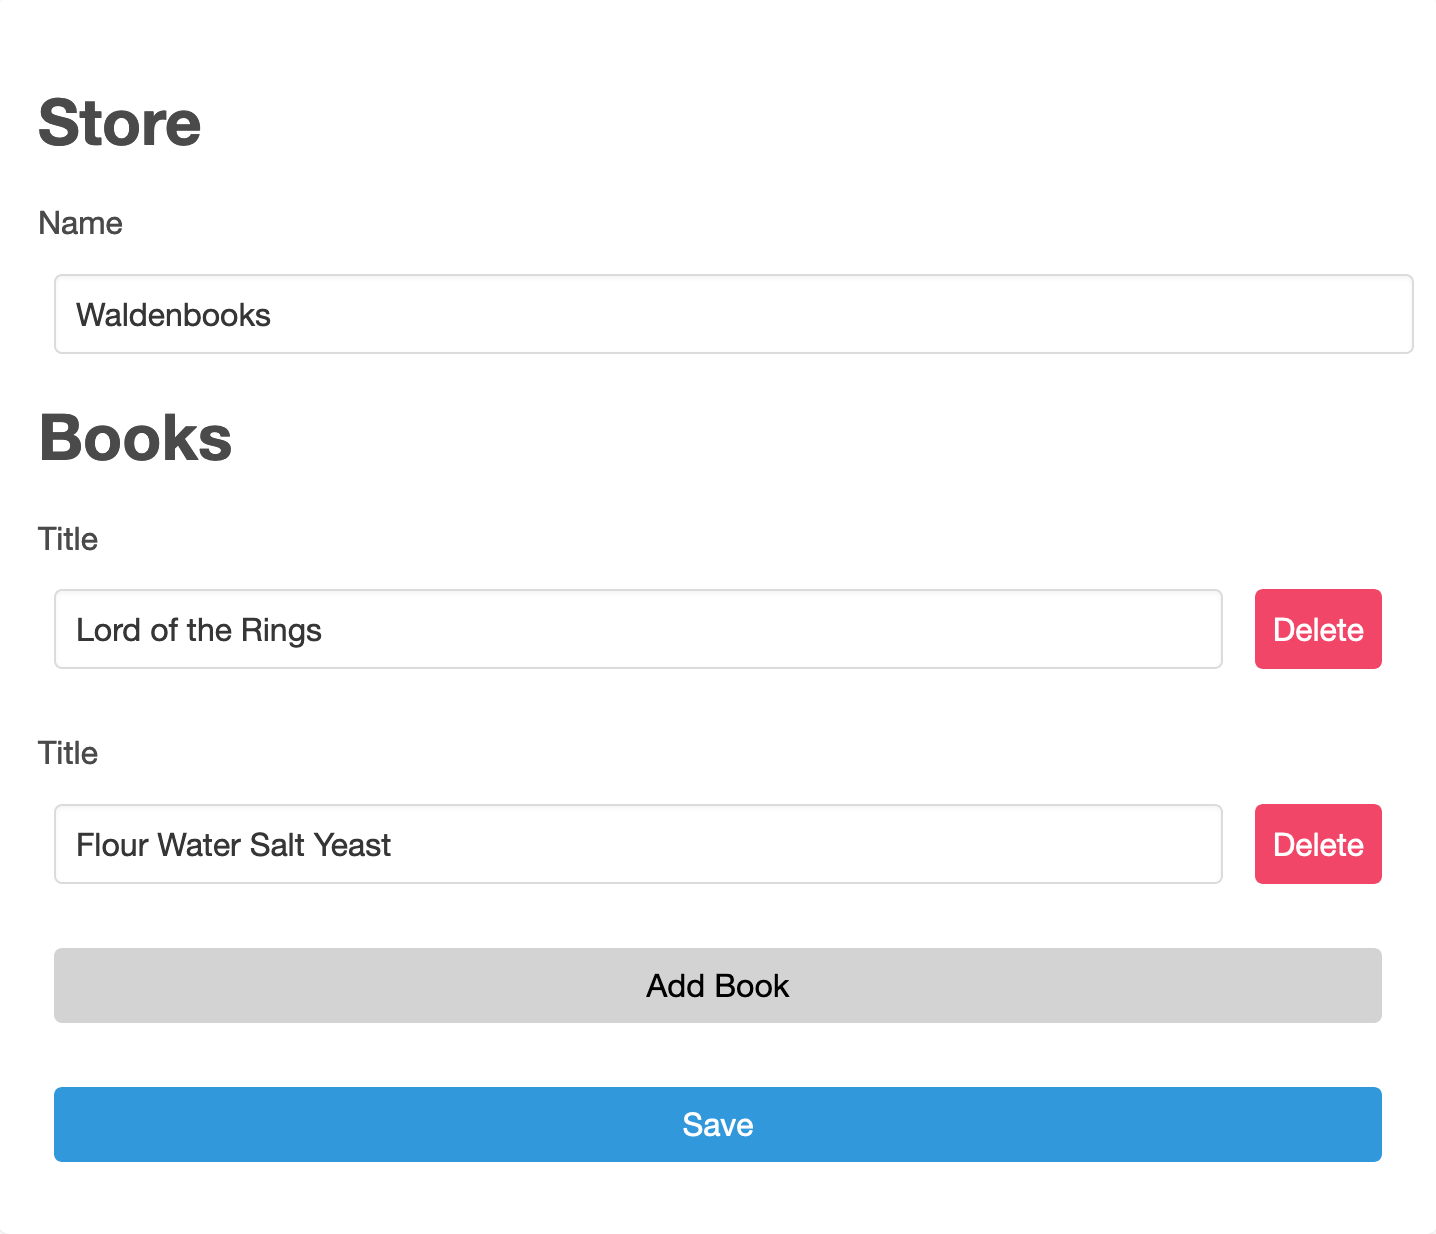
Here is what we want to build:

We will have a form on our edit page and extract the book fields into a partial. Some classes are included which match styles that can be found in the appendix page.
<%# app/views/stores/edit.html.erb %>

<div id="book-form">
  <%= form_with model: @store do |form|%>
    <h1>Store</h1>
    <%= form.label :name %>
    <%= form.text_field :name %>
    <h1>Books</h1>
    <div id="book-fields">
      <%= form.fields_for :books do |book_form| %>
        <%= render partial: "book_fields", locals: { book_form: book_form } %>
      <% end %>
    </div>
    <div class="fields">
      <%= form.button "Save", type: :submit %>
    </div>
  <% end %>
</div>


<%# app/views/stores/_book_fields.html.erb %>

<div class="book-field">
  <%= book_form.label :title %>
  <div class="fields">
    <%= book_form.text_field :title %>
    <%= button_tag "Delete" %>
    <%= book_form.hidden_field :_destroy, value: 0 %>
  </div>
</div>
Right now, we have 2 problems:
- We have no way to add new books.
- If we click the delete button, it will submit the form, not delete anything.
We could make the delete button delete the record via ajax, but for now let’s say we want to allow a user to bail before submitting changes. A delete button would not allow that.
Enter Stimulus
If you have not done so, please go read the docs at https://stimulusjs.org/. That will give you a sense of what stimulus is and how it works.
Follow the instructions to install stimulus in your rails app.
Embrace the Wrong Way
Once upon a time I used to try and guess “the right way” to do something before even trying. This often left me feeling stuck and confused and distracted from accomplishing my initial goals. Let’s just get our thing working.
Hiding A Row
So we can build the scaffolding for our controller:
// app/javascript/controllers/form_controller.js

import { Controller } from "stimulus";

export default class extends Controller {

  connect() {
    console.log("It's working!");
  }

  // Code goes here

}
Let’s add our delete row logic. First, we will need to add our controller to our
html. We can add this to div#book-form. Per the stimulus docs on
controllers, by adding
data-controller="form" to our div, that will connect it to our form
controller.
<%# app/views/stores/edit.html.erb %>

<div id="book-form" data-controller="form">
Now that our form is hooked up, we need to tell the delete button to send stuff to the controller. If we reload our page we should see “It’s working” in the console.
<%# app/views/stores/_book_fields.html.erb %>

<%= button_tag "Delete", data: { action: "form#deleteRow", "index": book_form.index } %>
We add a data-action attribute that points to the form javascript
controller and calls the deleteRow method. Now, once the button is click, we
want to delete the row that the button is a part of. There are a couple ways to
accomplish this:
- Use the index and book fields ids and
document.getElementById: But we don’t want to litter our DOM with IDs. - Use a css class on the containing row and climb the DOM looking for that: Climbing DOMs can work, but makes it hard for someone to change structure or styling later.
- Use an index and stimulus target: Let’s try this!
Rails form builders have an
index
field we can take advantage of. We can then combine that with stimulus
target to make grabbing our row
simple.
<%# app/views/stores/_book_fields.html.erb %>

<div class="book-field" data-target="form.bookRow" data-index="<%= book_form.index %>">
As long as we don’t have a non-row with the same data-target value inside of
this specific data-controller object, we don’t want to worry about grabbing
the wrong object and we can just rely on the index. Only the rows will exist as
targets, and they will have the same index. Both the form builders index
and the indexes in stimulus are 0 based, so we’re good.
Now we have a button calling an action, a target to refer to, and the controller activated. We can jump back to our controller and finish this up!
// app/javascript/controllers/form_controller.js

export default class extends Controller {
  static targets = ["bookRow"] // 1

  deleteRow() { // 2
    event.preventDefault(); // 3

    let index = event.currentTarget.getAttribute("data-index"); // 4, 5
    this.bookRowTargets[index].classList.toggle("hidden"); // 6, 7
  }
}
- We set our targets array with the singular name of our target.
- We add a
deleteRow()method. - We call
event.preventDefault()so the form is not submitted. - We use
currentTargetinstead oftargetin case we have an icon in our button or something. - We grab the index from the button
- We look in the plural array of
bookRowTargetsand grab the row with same index. - We toggle a
hiddenclass we can use to hide the row.
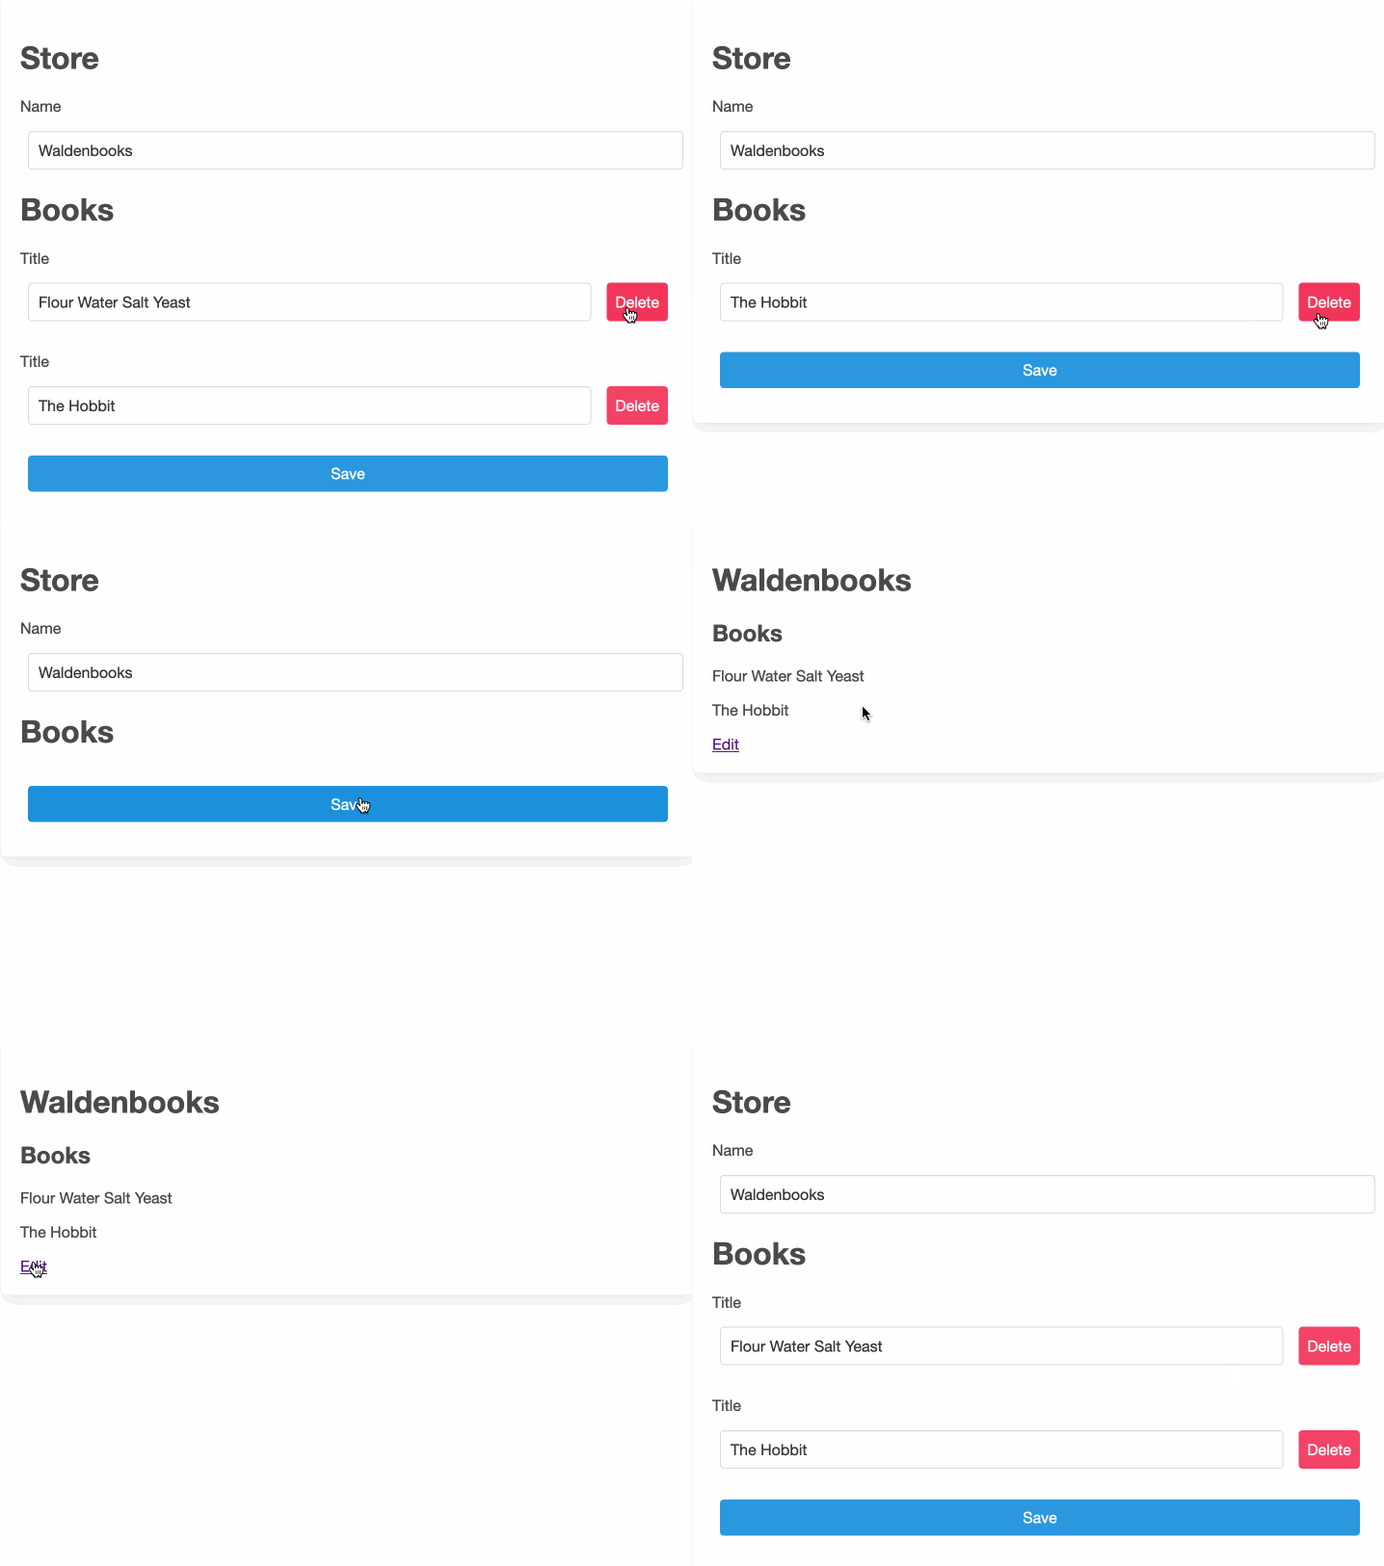
Now, when we click delete, our row will hide!
Deleting a Row
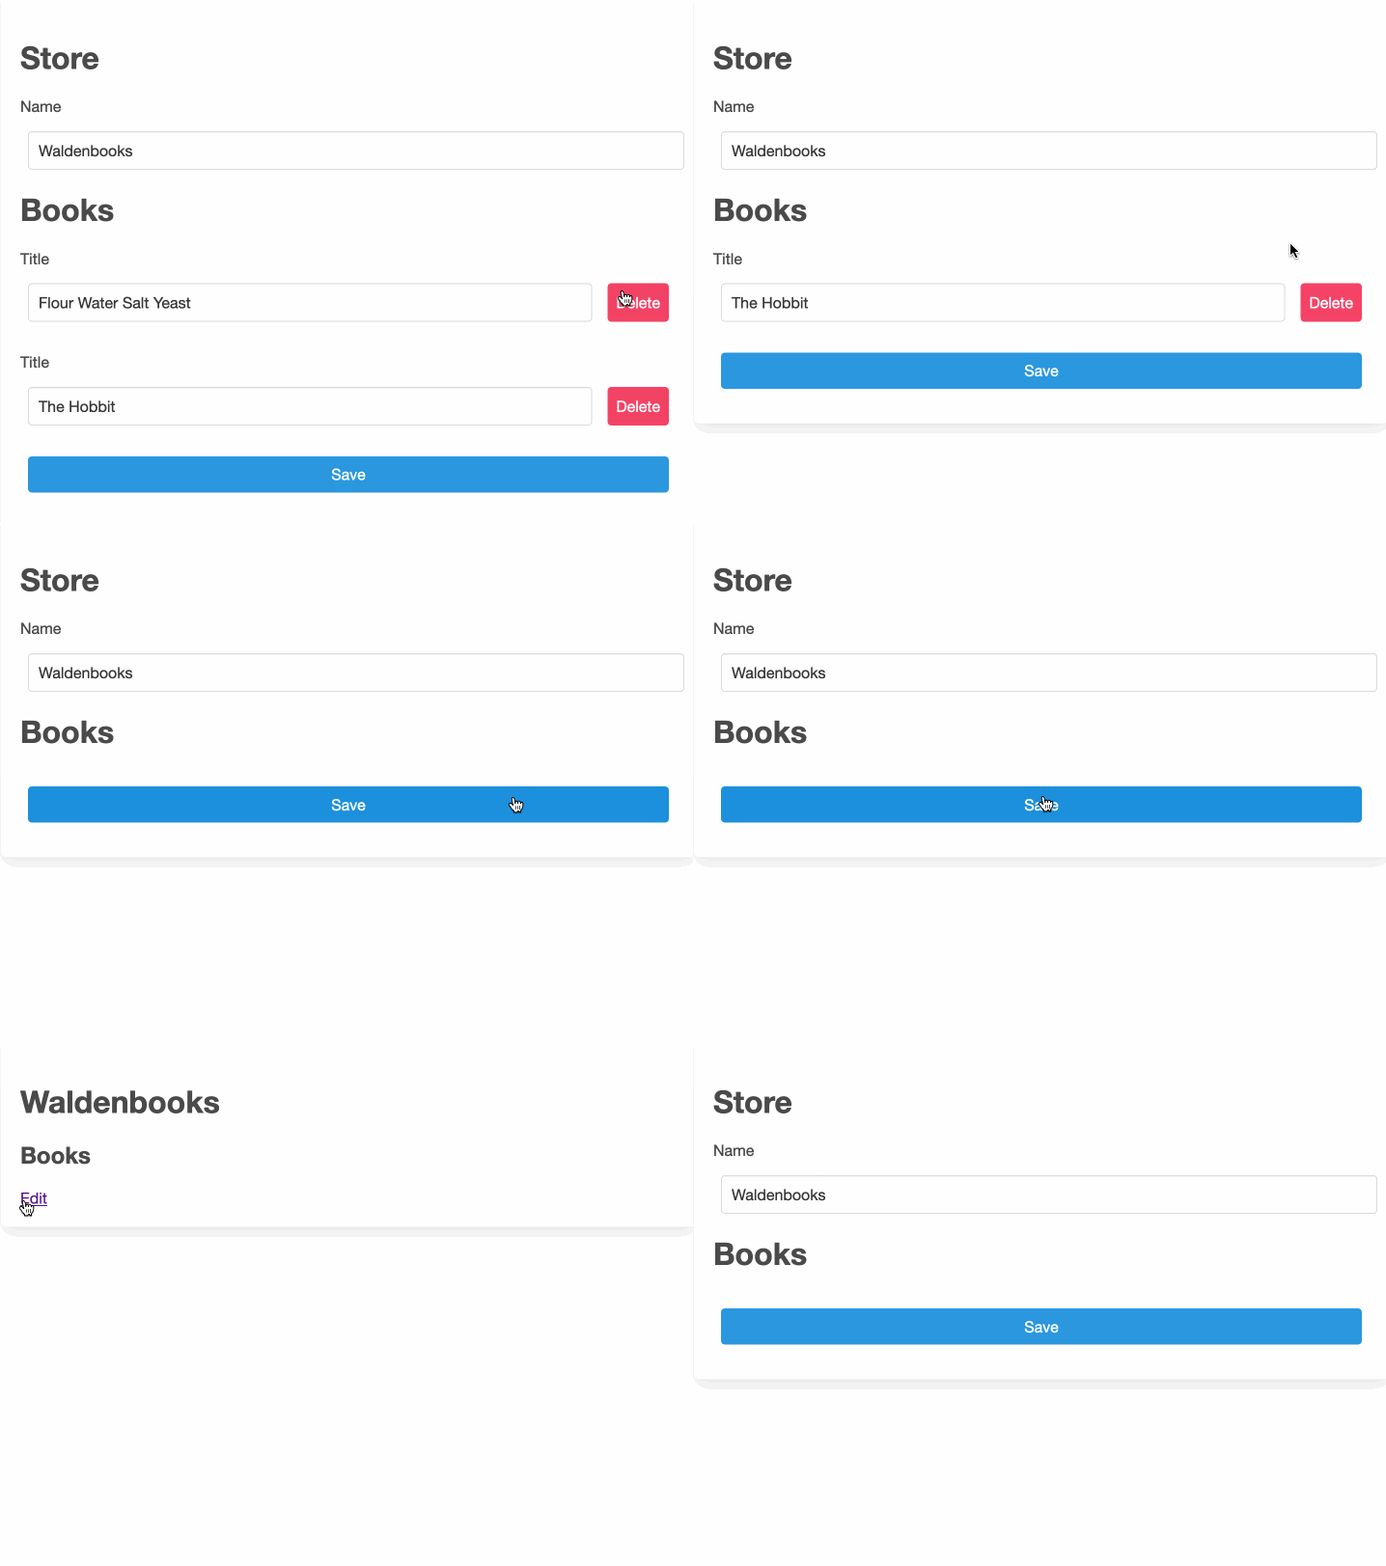
If we tested our code out, we would see that the row hides, but if we reload the page, it’s still there.

Now we have to work on actually deleting the row.
Per the nested attributes
docs
if we want to delete a row, we need to pass an attribute of { _destroy: 1 }.
Earlier, we set a hidden attribute for destroy with a value of 0. Now we need to update it. Let’s add a target to that destroy hidden input.
<%# app/views/stores/_book_fields.html.erb %>

    <%= book_form.hidden_field :_destroy, value: 0, data: { target: "form.destroyInput" } %>
We can use the same index trick as before to augment our deleteRow logic.
// app/javascript/controllers/form_controller.js

export default class extends Controller {
  static targets = ["bookRow", "destroyInput"] // 1

  deleteRow() {
    event.preventDefault();

    let index = event.currentTarget.getAttribute("data-index");
    this.bookRowTargets[index].classList.toggle("hidden");
    this.destroyInputTargets[index].value = 1; // 2
  }
}
- We add
"destroyInput"to our targets list. - We look in the
destroyInputTargetsarray with the same index, and set the value to 0.
Now if we delete a row and submit the form, we will see that our book is actually gone.

Clean It Up
We will work on adding a row in part 2. For now, let’s clean up what we have.
Currently, we have one stimulus controller that deletes the row (by toggling a class) and another that changes a value. What happens if we want to add that hide functionality somewhere else in the app, without the value updating. Or maybe we will want to be able to update the value without hiding something?
Stimulus is designed to be very modular, so let’s extract our current behavior as modules.
ToggleController
Let’s first create a toggle controller that toggles a class.
// app/javascript/controllers/toggle_controller.js

import { Controller } from "stimulus";

export default class extends Controller {
  static targets = ["container"] // 1

  toggle() { // 2
    event.preventDefault();

    let index = event.currentTarget.getAttribute("data-index");
    let toggleClass = this.data.get("class"); // 3
    this.containerTargets[index].classList.toggle(toggleClass); // 4
  }
}
Now, here is our changes
- Have the target be the generic container for what needs to be hidden.
- We can name our action to be just
togglesince all we will do is toggle a class. - Get the toggle class dynamically from the DOM, that way we aren’t limited to a “hiding” controller.
- Update the name of our target to
containerTargetsand use thetoggleClass.
Let’s update our DOM:
<%# app/views/stores/edit.html.erb %>

<div id="book-form" data-controller="toggle" data-toggle-class="hidden">
Above we change our controller to be the toggle controller (we’ll add the
update value one back in a moment). We also are adding
data-toggle-class="1" which will allow us to set the correct toggle class
dynamically each time we use the controller.
<%# app/views/stores/_book_fields.html.erb %>

<div class="book-field" data-target="toggle.container"> <!-- 1 -->
  ...
  <%= button_tag "Delete", data: { action: "toggle#toggle", "index": book_form.index } %> <!-- 2 -->
- And here, we set the
data-targetname totoggle.container. - We also set our action to
toggle#toggle, which means the#toggleaction in thetogglecontroller.
Voila! We have a reusable toggle functionality.
ValueController
Now let’s create a controller that updates a value.
// app/javascript/controllers/value_controller.js

import { Controller } from "stimulus";

export default class extends Controller {
  static targets = ["input"] // 1

  update() { // 2
    event.preventDefault();

    let index = event.currentTarget.getAttribute("data-index");
    let updateValue = this.data.get("value"); // 3
    this.inputTargets[index].value = updateValue; // 4
  }
}
Now, here is our changes
- Have the target be the input we will change the value of.
- We can name our action to be just
update. - Get the update value class dynamically from the DOM. This one is a little different because it assumes a static update value, but you could do more work to get this to be dynamic in some way.
- Update the name of our target to
inputTargetsand set the value.
Let’s update our DOM:
<%# app/views/stores/edit.html.erb %>

<div id="book-form" data-controller="toggle value" data-toggle-class="hidden" data-value-value="1">
Above we add (with a space) our value controller to be the controllers list and
we also are adding data-value-value="hidden" which will allow us to set the
correct toggle class dynamically each time we use the controller.
<%# app/views/stores/_book_fields.html.erb %>
  ...
  <%= button_tag "Delete", data: { action: "toggle#toggle value#update", "index": book_form.index } %>
  <%= book_form.hidden_field :_destroy, value: 0, data: { target: "value.input" } %>
And here, we set the data-target name to value.input and our action to
value#value.
Voila! We have a reusable value update functionality.
Now we need to add a new row.